charnwoodstoves

As environmental concerns continue to shape the UK’s regulatory landscape, advancements in stove technology have been made to meet stringent eco-friendly standards. Multi-fuel stoves, widely popular for their versatility, efficiency, and aesthetic appeal, are not exempt from these regulations.

In this article, we will explore the latest regulations and rules governing multi-fuel stoves in 2023, with a focus on Ecodesign, planning permission, fuel liners, hearth requirements, and ventilation regulations in the UK.


What is Ecodesign?

Ecodesign is an initiative by the European Union to improve the energy efficiency and environmental performance of products, including stoves and fireplaces. It came into effect in the UK on January 1st 2022.

In the UK, Ecodesign regulations have been embraced as part of the government’s commitment to reducing carbon emissions and mitigating climate change and, as of 2023, all newly-manufactured stoves must meet the Ecodesign standards, ensuring lower emissions and higher efficiency compared to older models. Ecodesign sets out maximum emission levels of PM (Particulate Matter), CO (Carbon Monoxide), OGC (Organic Gaseous Compounds) and NOx (Nitrogen Oxide).

Ecodesign only affects those room-heating appliances made available for sale from 2022 onwards; stoves and fireplaces already installed will not be affected.


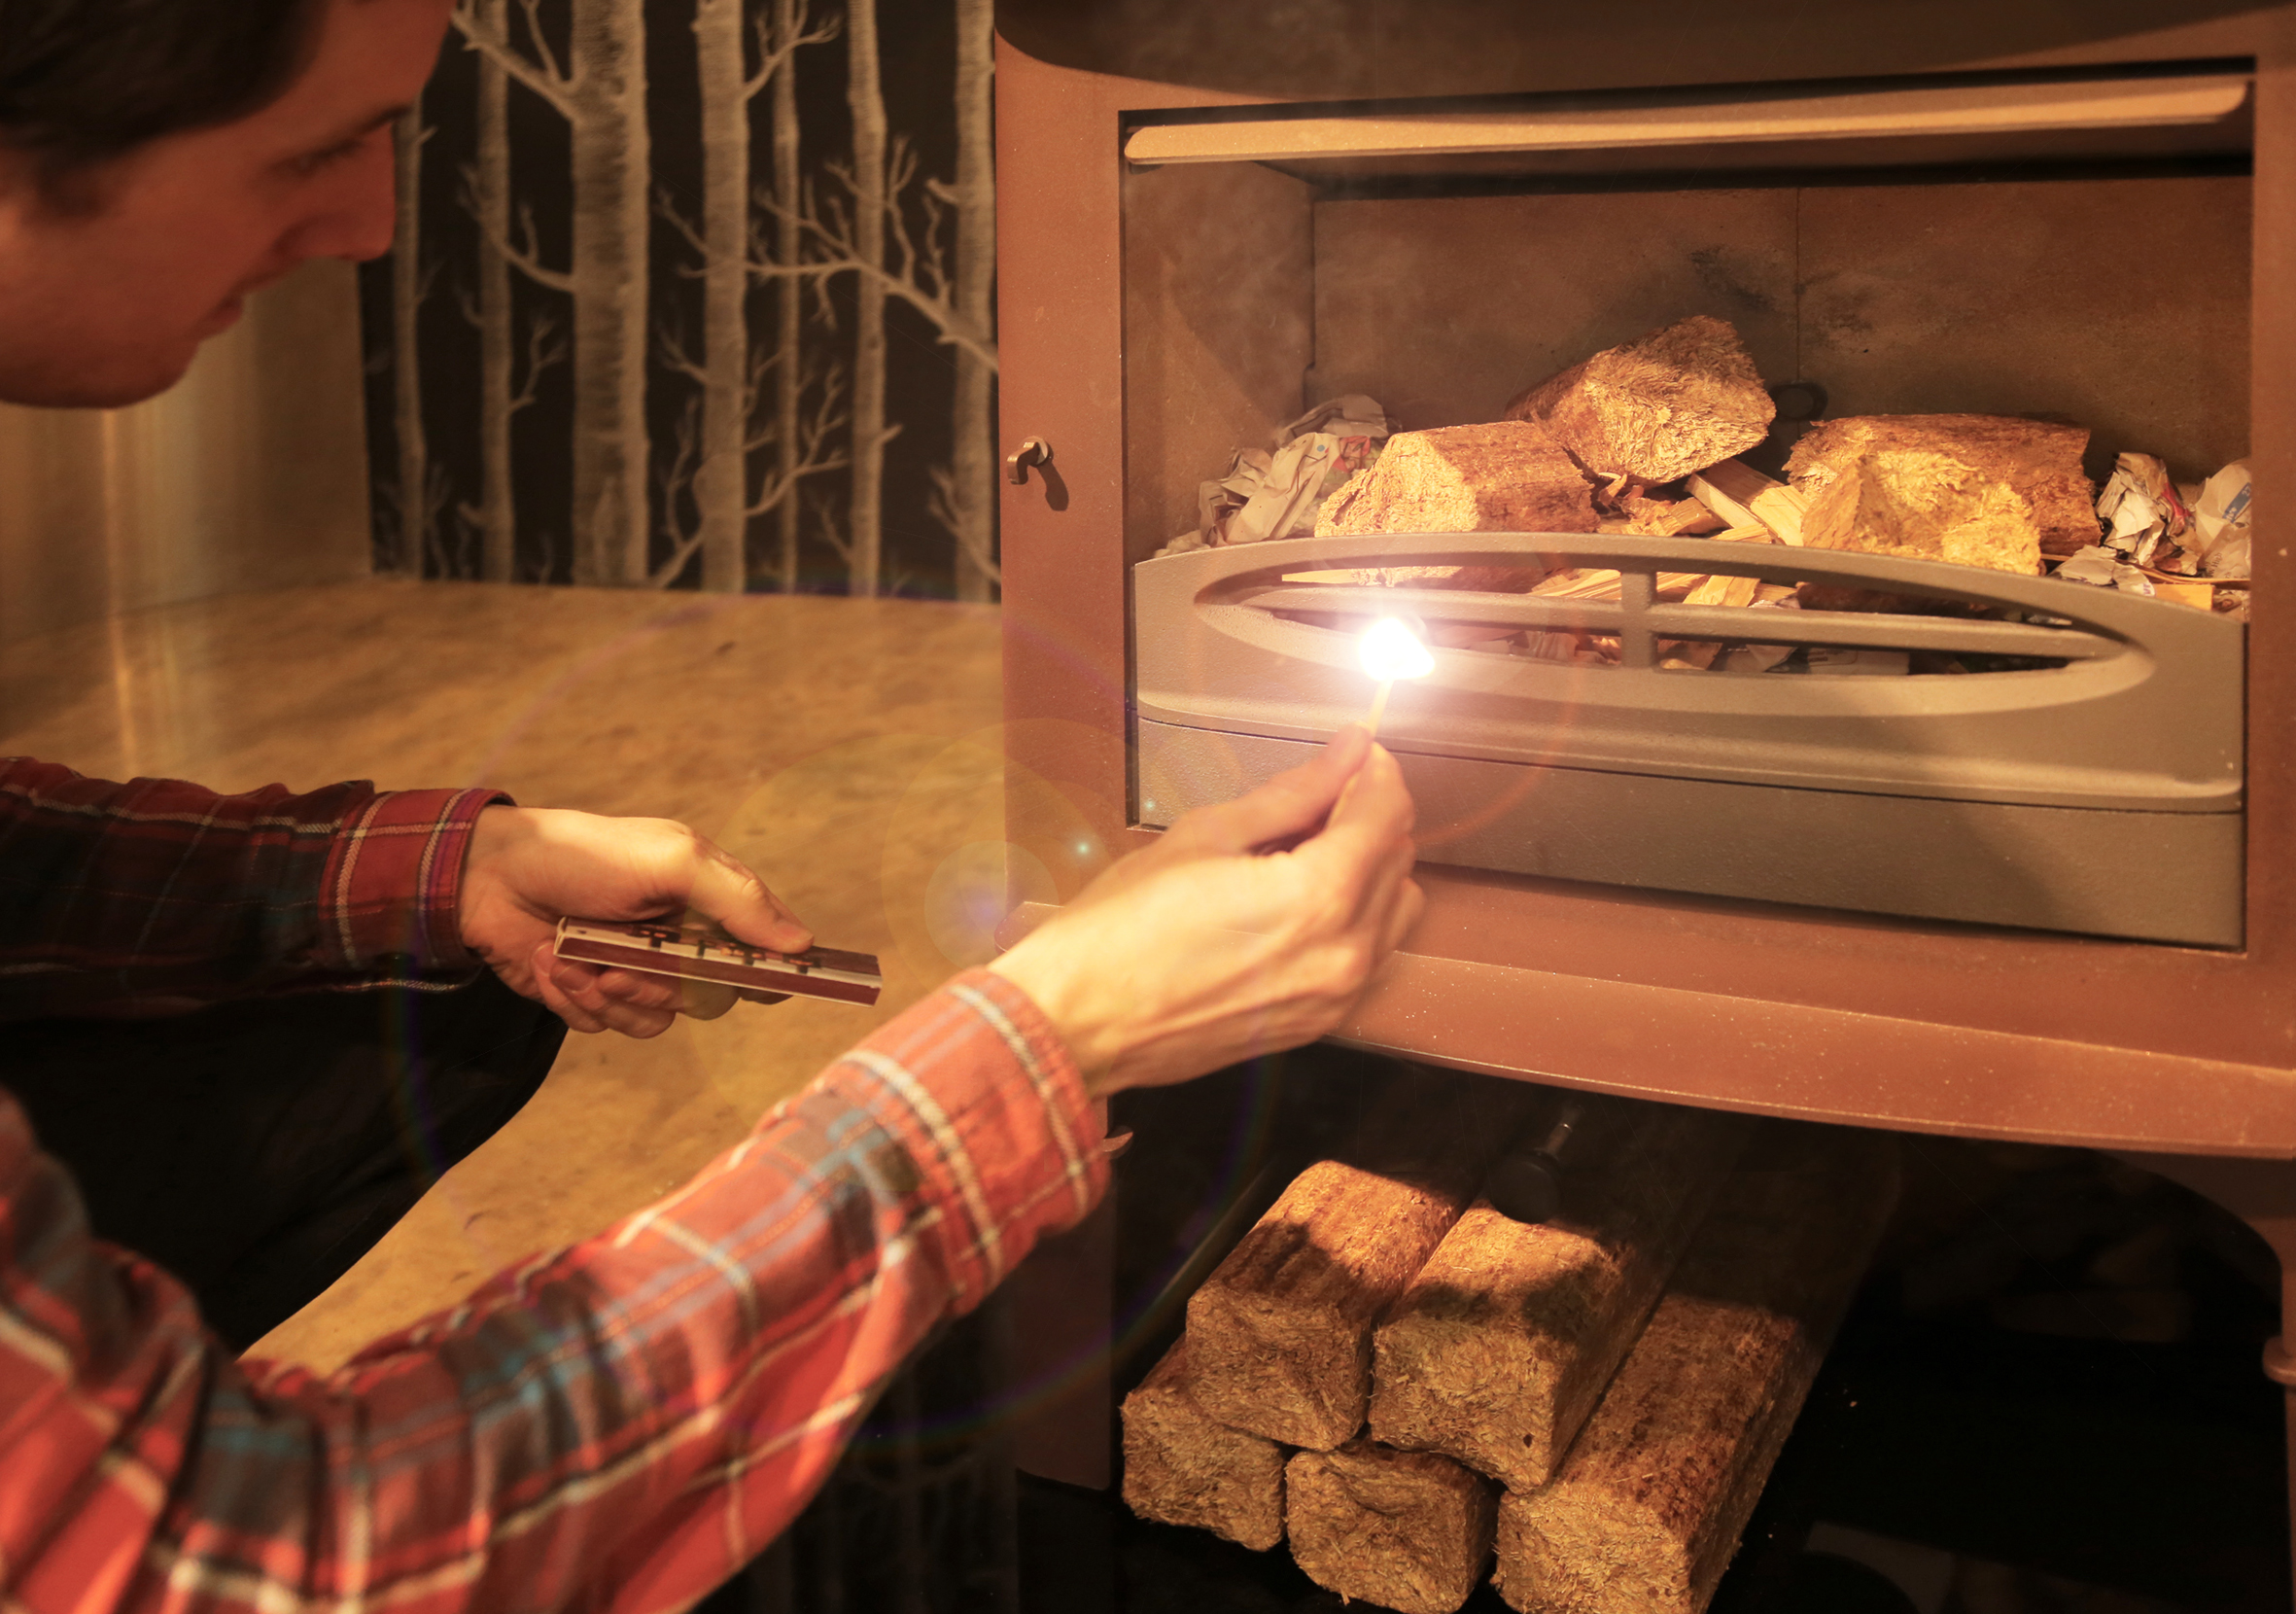
Will Ecodesign affect the heat produced in a multi-fuel stove?

No, the implementation of Ecodesign regulations does not necessarily impact the heat output of multi-fuel stoves. The primary aim of Ecodesign is to reduce harmful emissions, making these stoves more environmentally friendly. Manufacturers have adapted by employing innovative design features and technology to maintain or even improve heat output while complying with the Ecodesign standards.

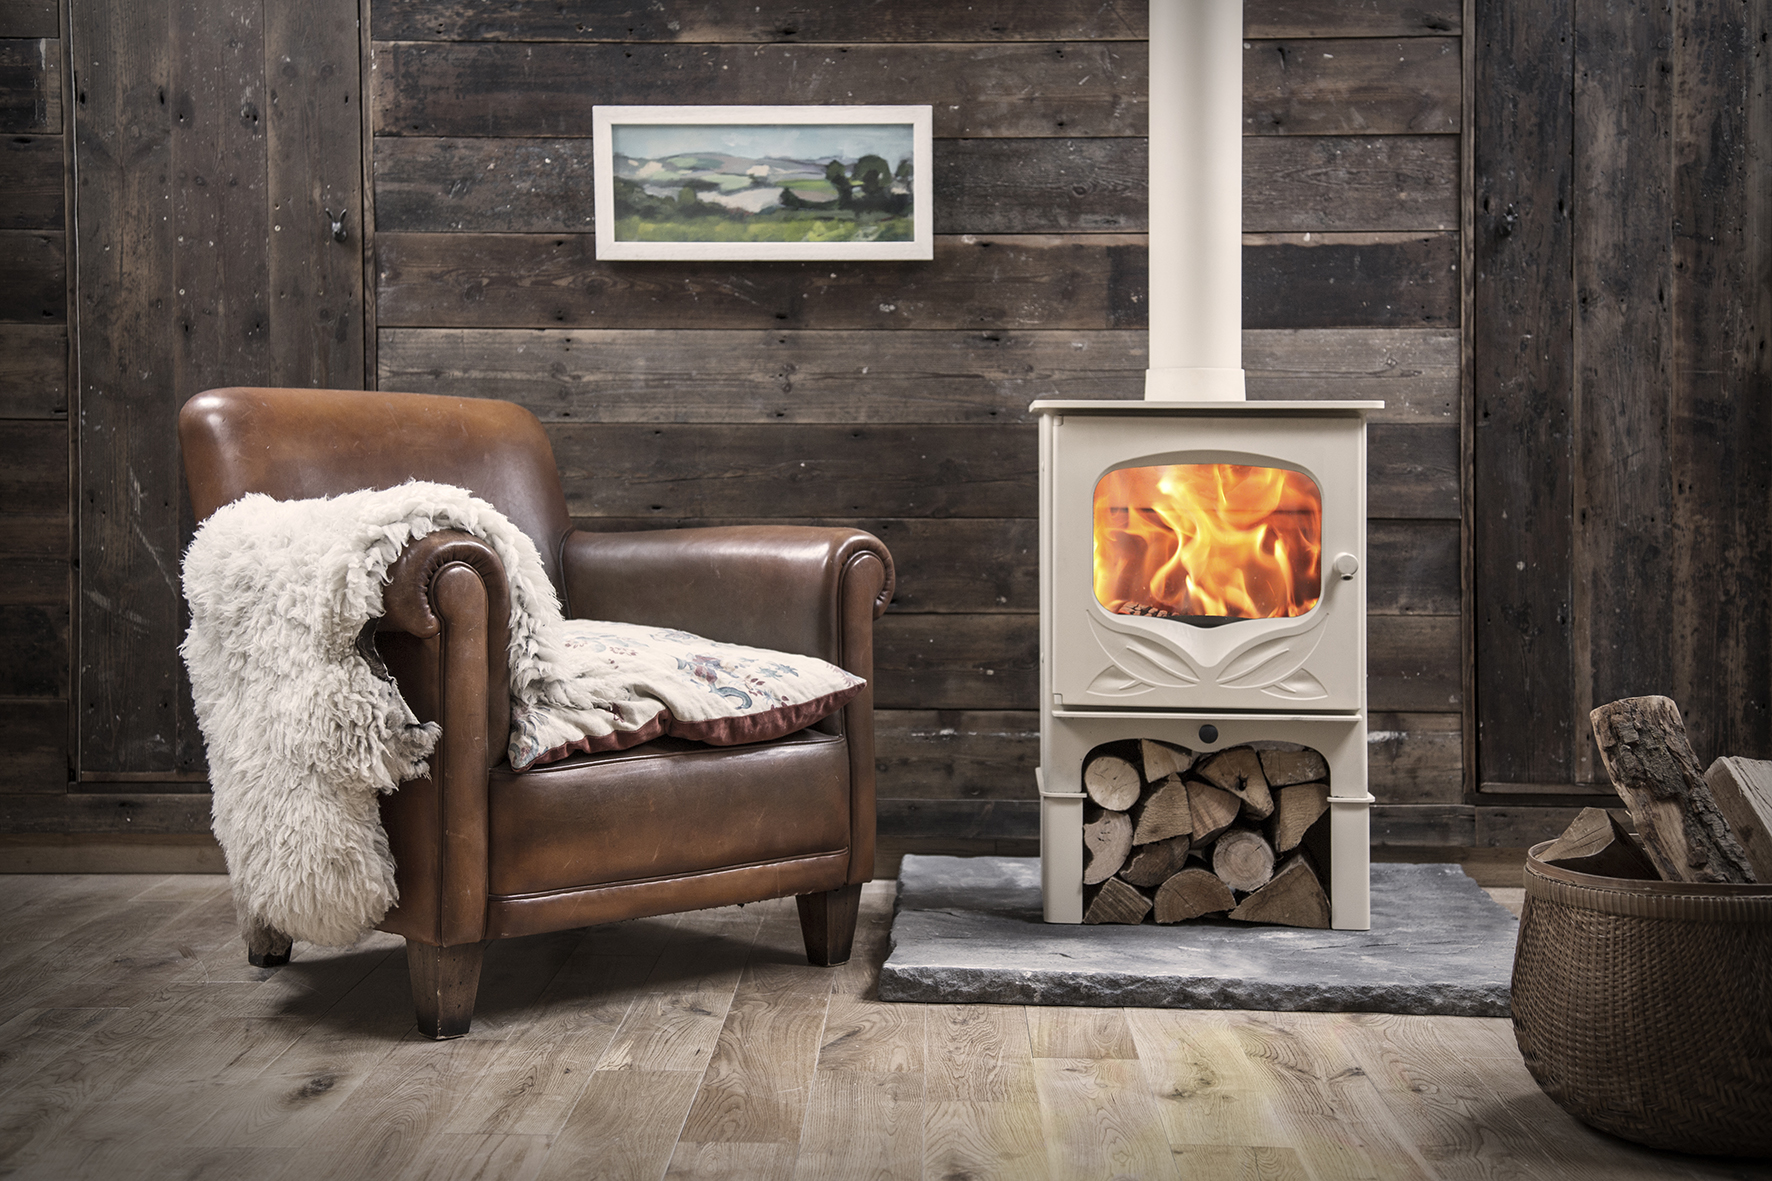
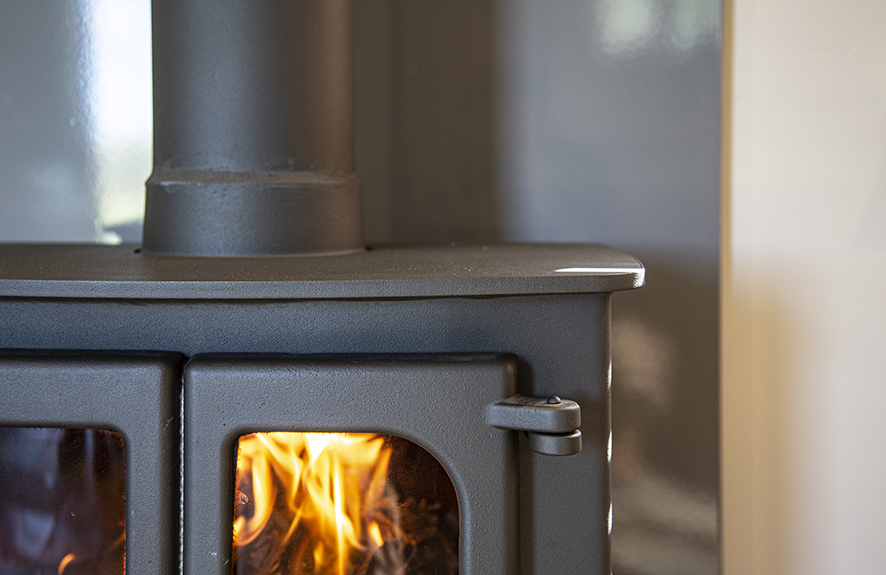
Discover more about multi-fuel stoves.


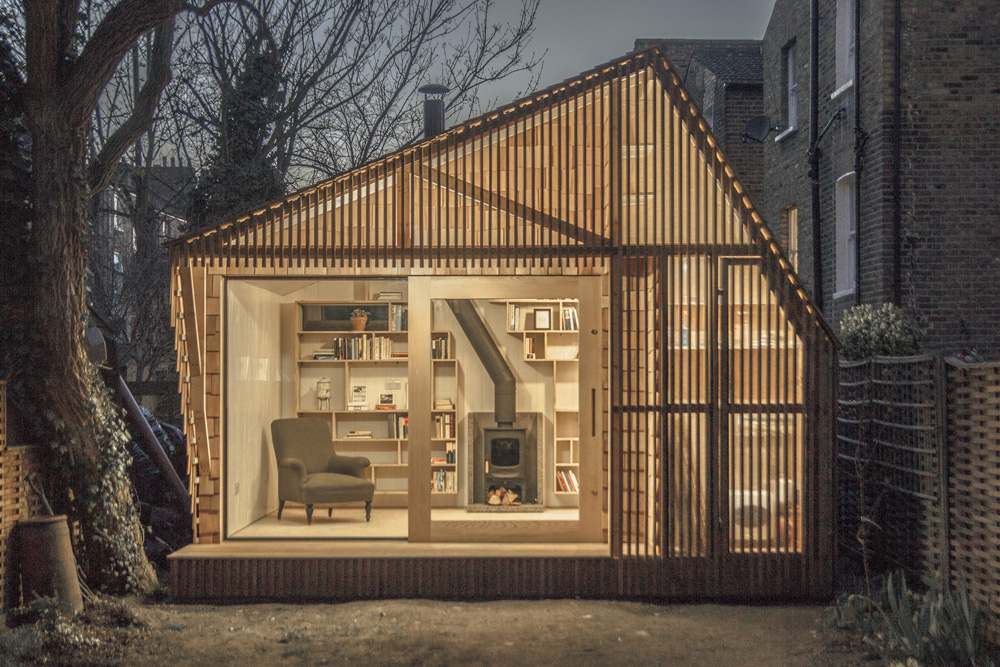
Is planning permission required to install a multi-fuel stove?

In most cases, installing a multi-fuel stove in the UK does not require planning permission. Permitted Development Rights (PDR) allow homeowners to make certain improvements to their property without seeking planning permission. Under PDR, you can install a multi-fuel stove, provided it meets specific criteria, such as not being installed on a listed building or within a designated conservation area. However, it is always recommended to consult with your local planning authority or a professional installer to ensure compliance with local regulations.


Is it a legal requirement to have a flue liner?

While it’s not a legal requirement, using a fuel liner is highly recommended when installing a multi-fuel stove. A flue liner is a flue or chimney lining that ensures proper venting of combustion gases and helps prevent dangerous emissions, such as carbon monoxide, from entering your living space. A fuel liner will increase efficiency, help keep your chimney clean and improve safety.

Your wood burning stove needs to meet the building regulations listed in Document J, which recommends (but does not require) that flue liners are used.


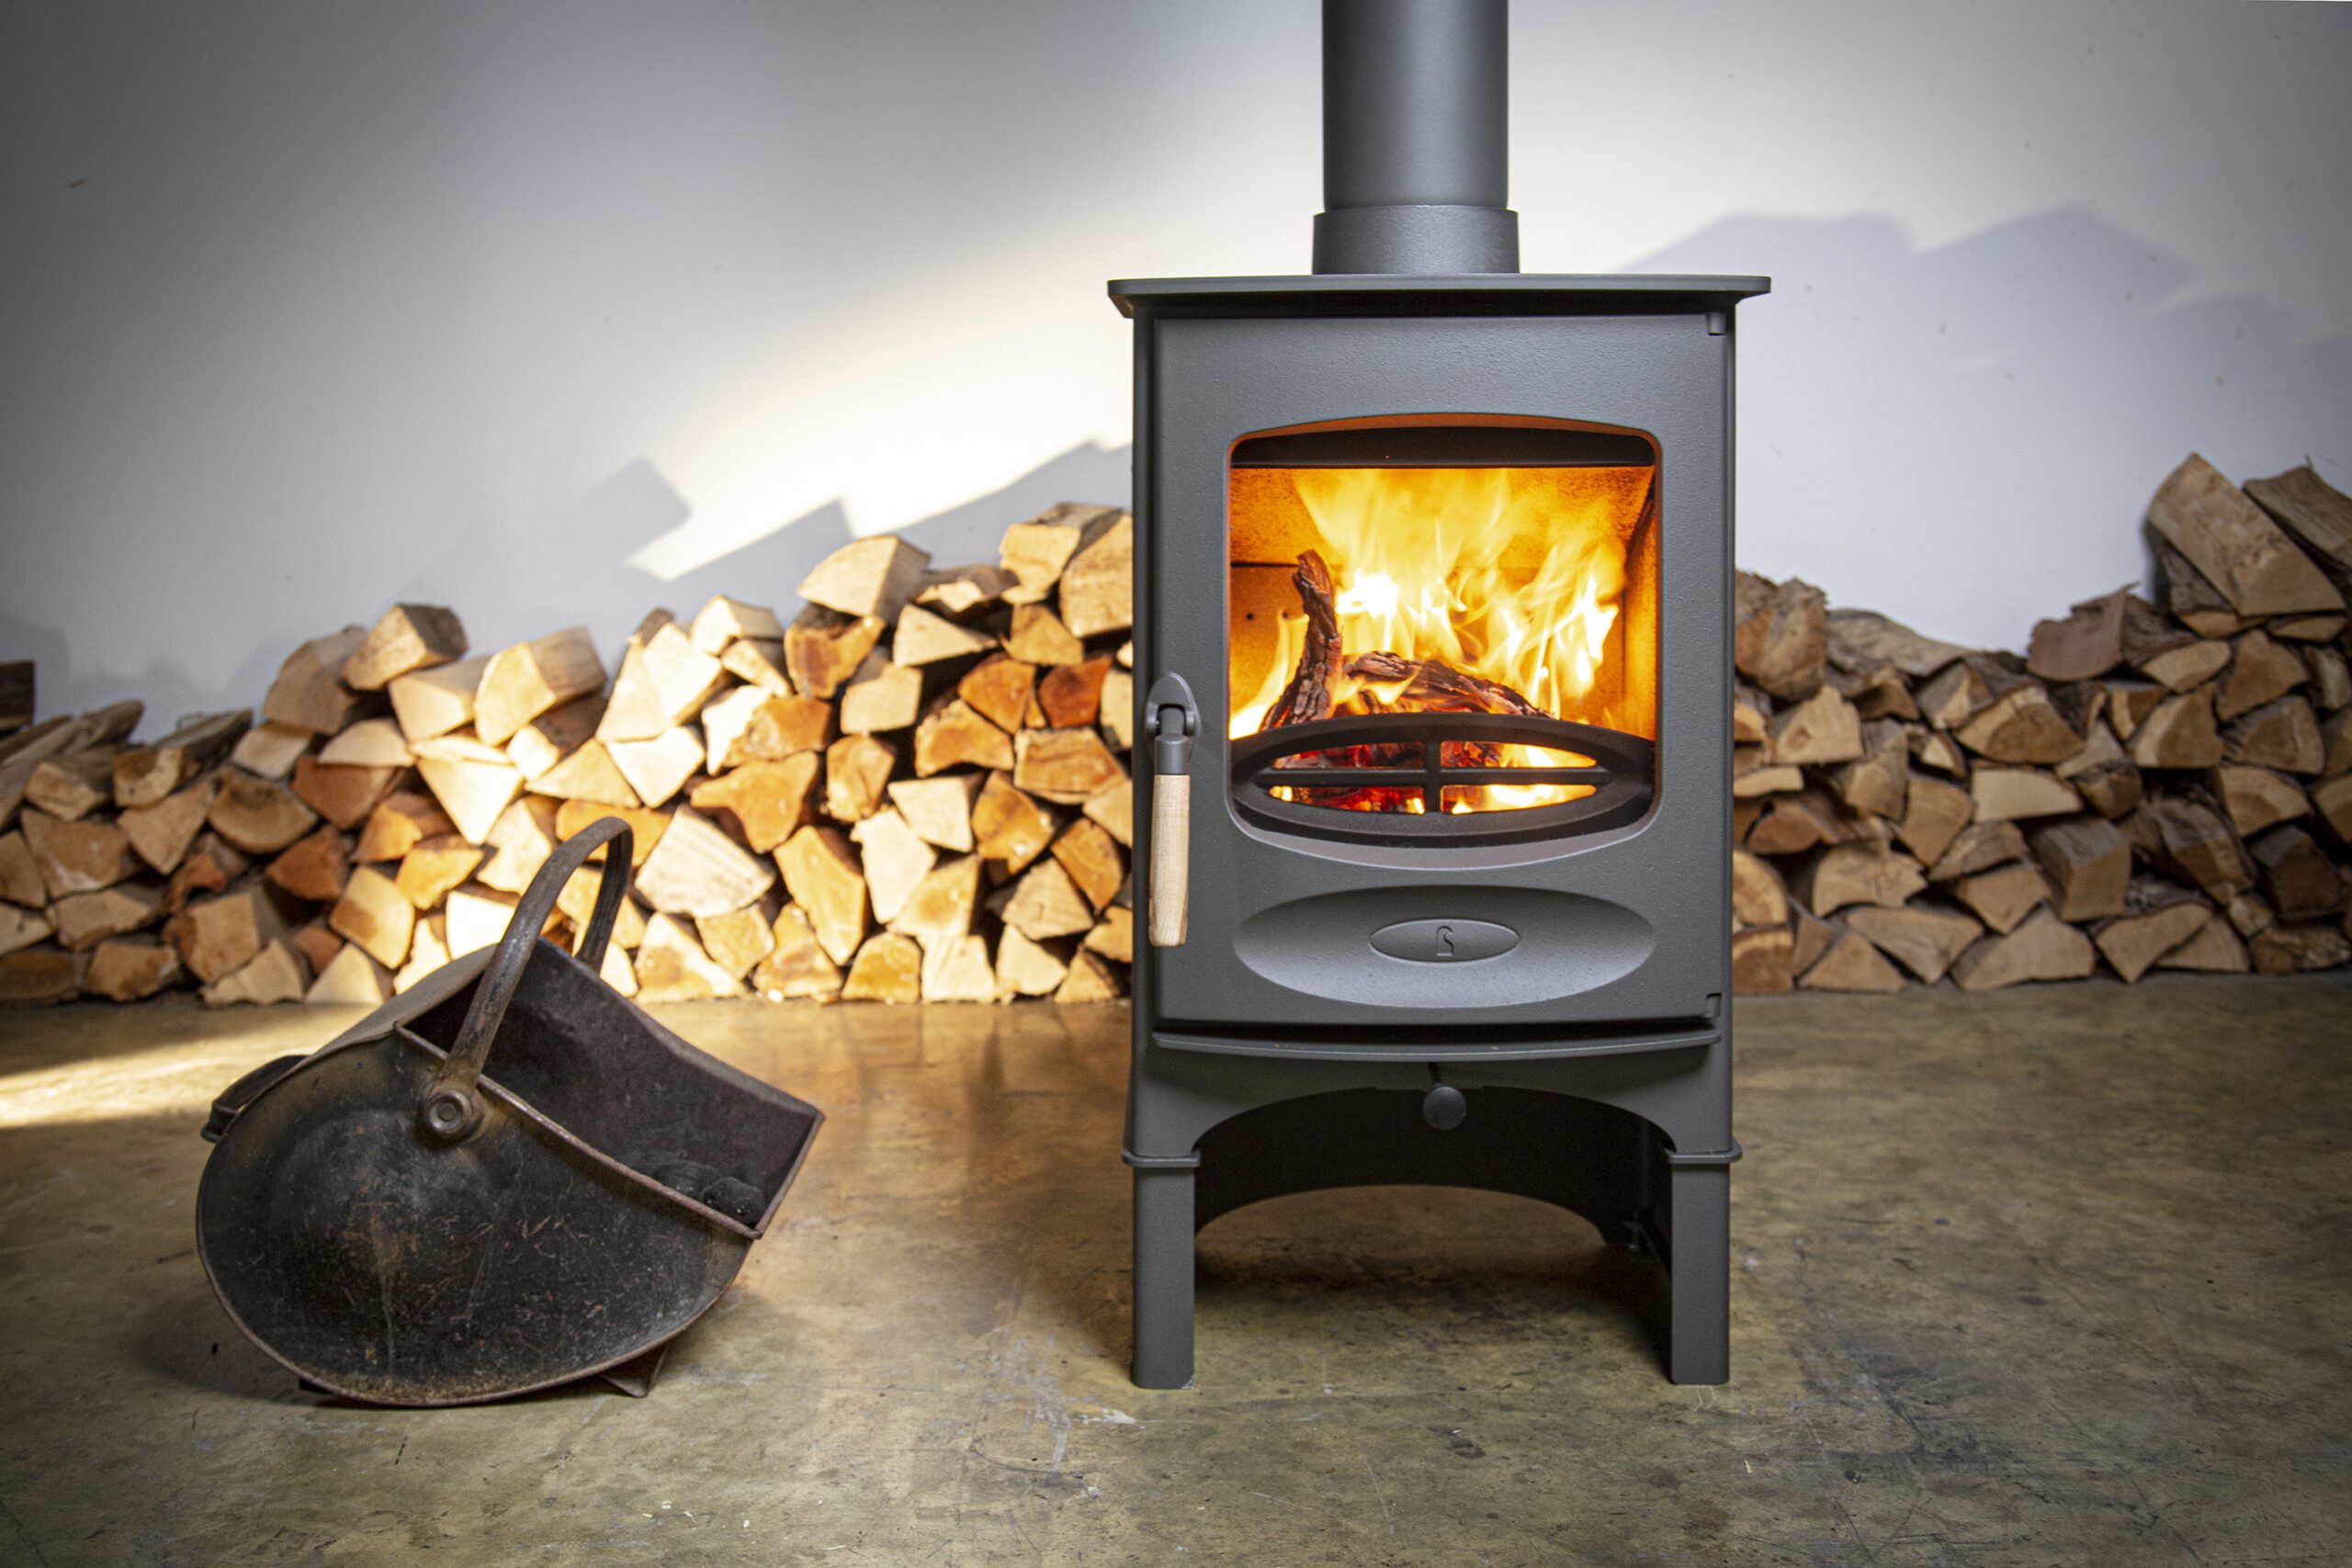
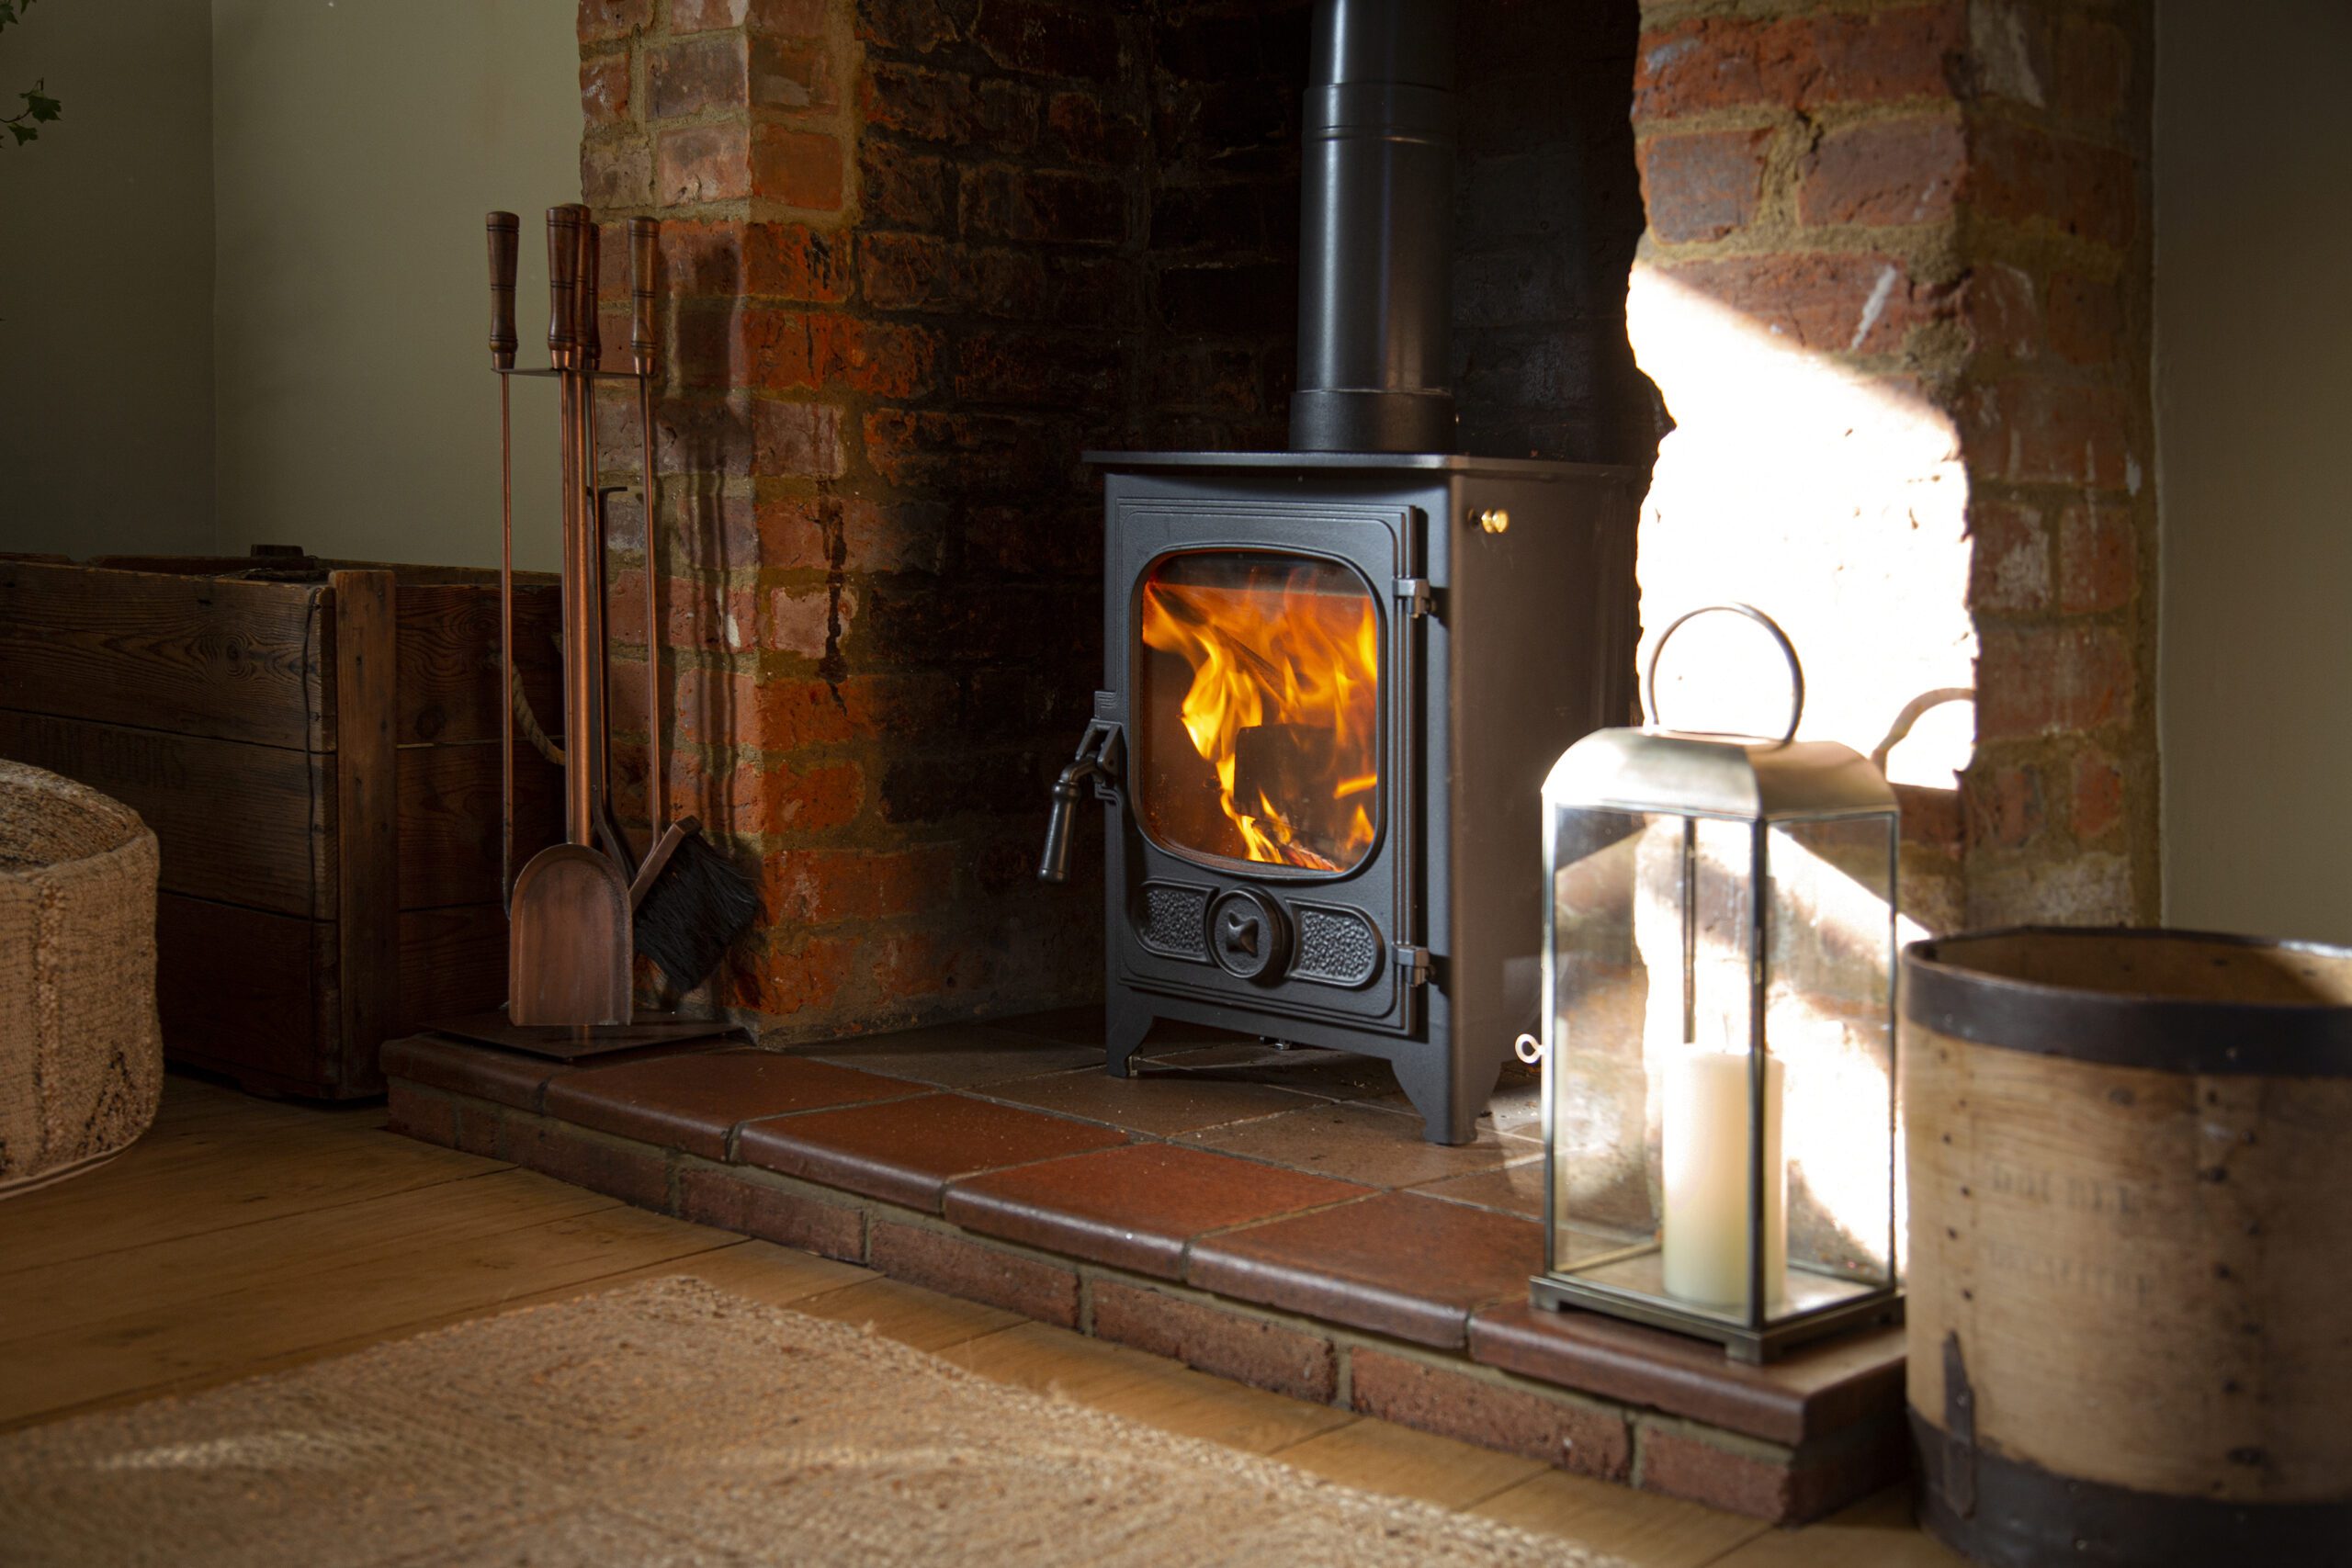
Top Hearth Requirements

The hearth is the base on which the multi-fuel stove sits, and it must meet certain requirements to comply with UK regulations. The top hearth, also known as the stove hearth or constructional hearth, must be made from a non-combustible material, such as stone, concrete, or a suitable hearth pad such as enamel. It should extend a certain distance beyond the stove’s footprint to prevent accidental fires. The specific dimensions and constructional requirements may vary based on the stove’s heat output and other factors, so it is vital to follow the manufacturer’s guidelines and UK building regulations.


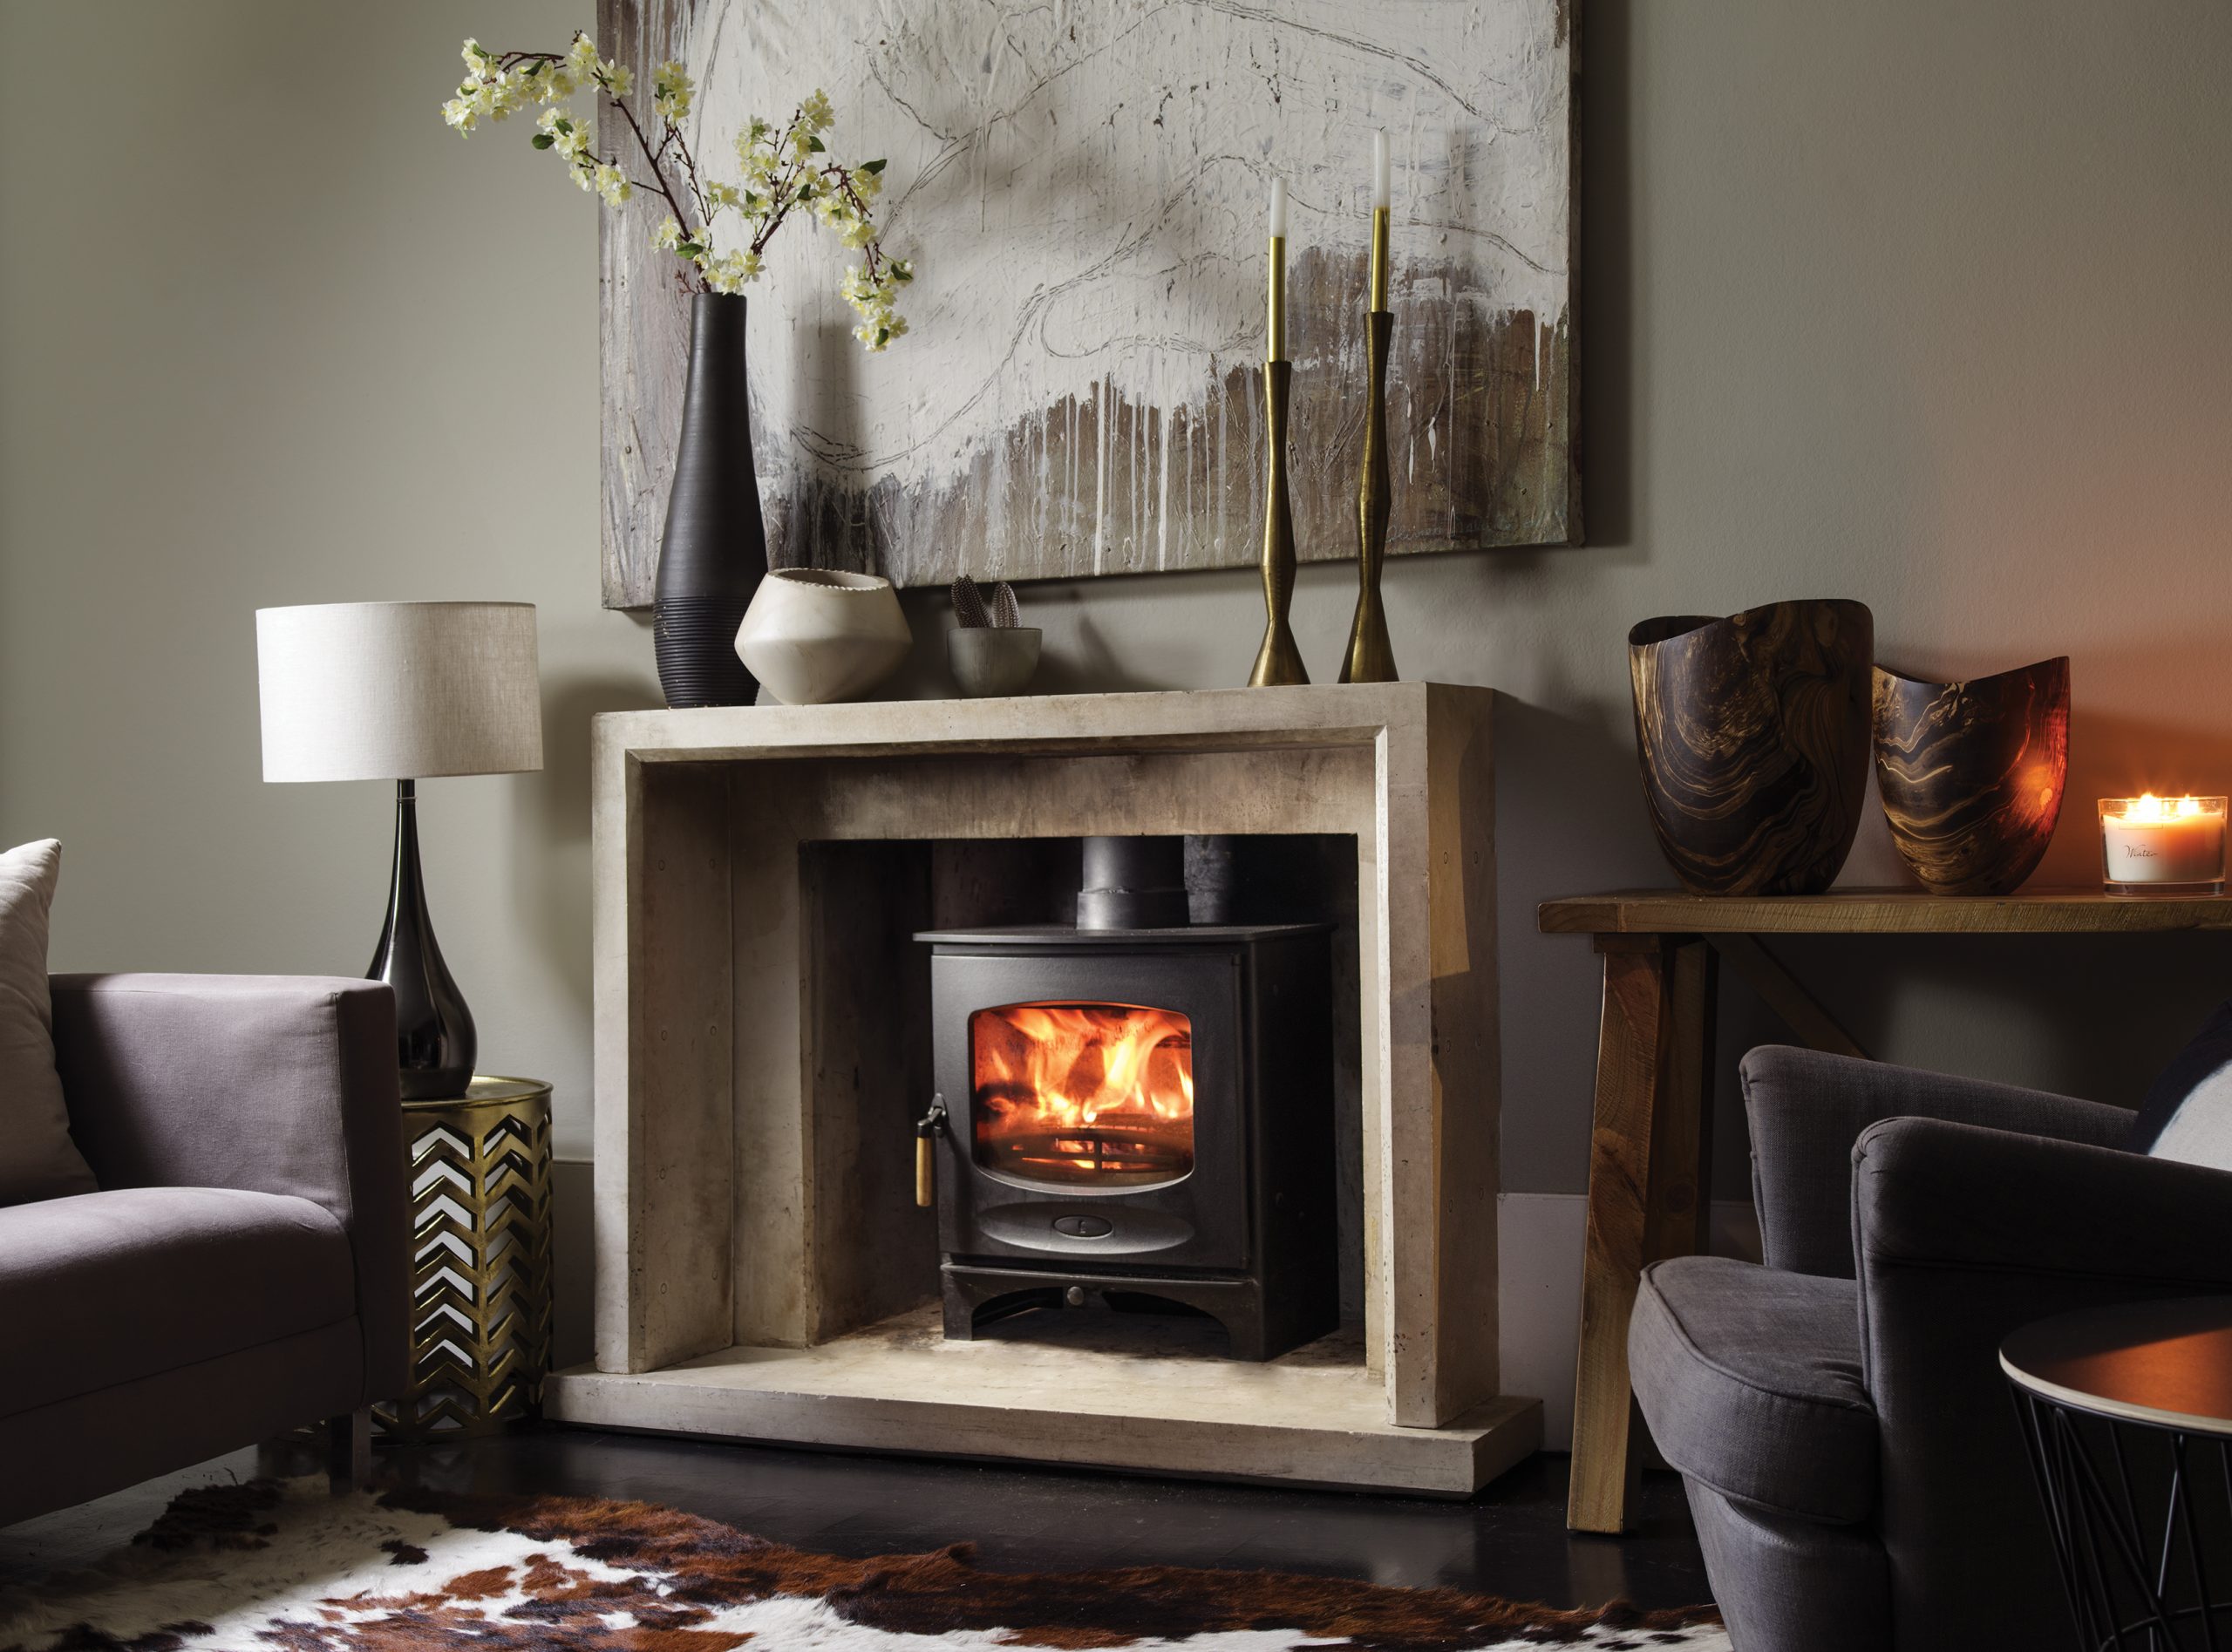
Ventilation Requirements

Proper ventilation is essential to ensure the safe operation of a multi-fuel stove. Adequate air supply allows for efficient combustion and reduces the risk of carbon monoxide build-up.

The ventilation requirements of your home will depend in part on when it was built; homes built after 2008 are designed to have an air permeability of 5m3/hm2 or less, due to the increased energy efficiency. Homes built before 2008 are unlikely to meet this level of air permeability. You can have your stove fitter test your home’s air permeability.

For homes with an air permeability of 5m3/hm2 or more, i.e. most older homes, ventilation is only required for stoves with heat outputs above 5kW, and this is done in increments of 550mm2. For example, a 6kW heat output would require 550mm2, a 7kW heat output requires 1100mm2, an 8kW heat output requires 1650mm2 and so on.

For homes with an air permeability of 5m3/hm2 or less, i.e. any home built since 2008, and some homes built before, the increments of 550mm2 start from 0, so a 1kW heat output would require 550mm2, a 2kW heat output requires 1100mm2, and a 3kW heat output requires 1650mm2.

This ventilation can be achieved through vents in the wall or an air brick. Installers must carefully calculate the required ventilation to meet building regulations.
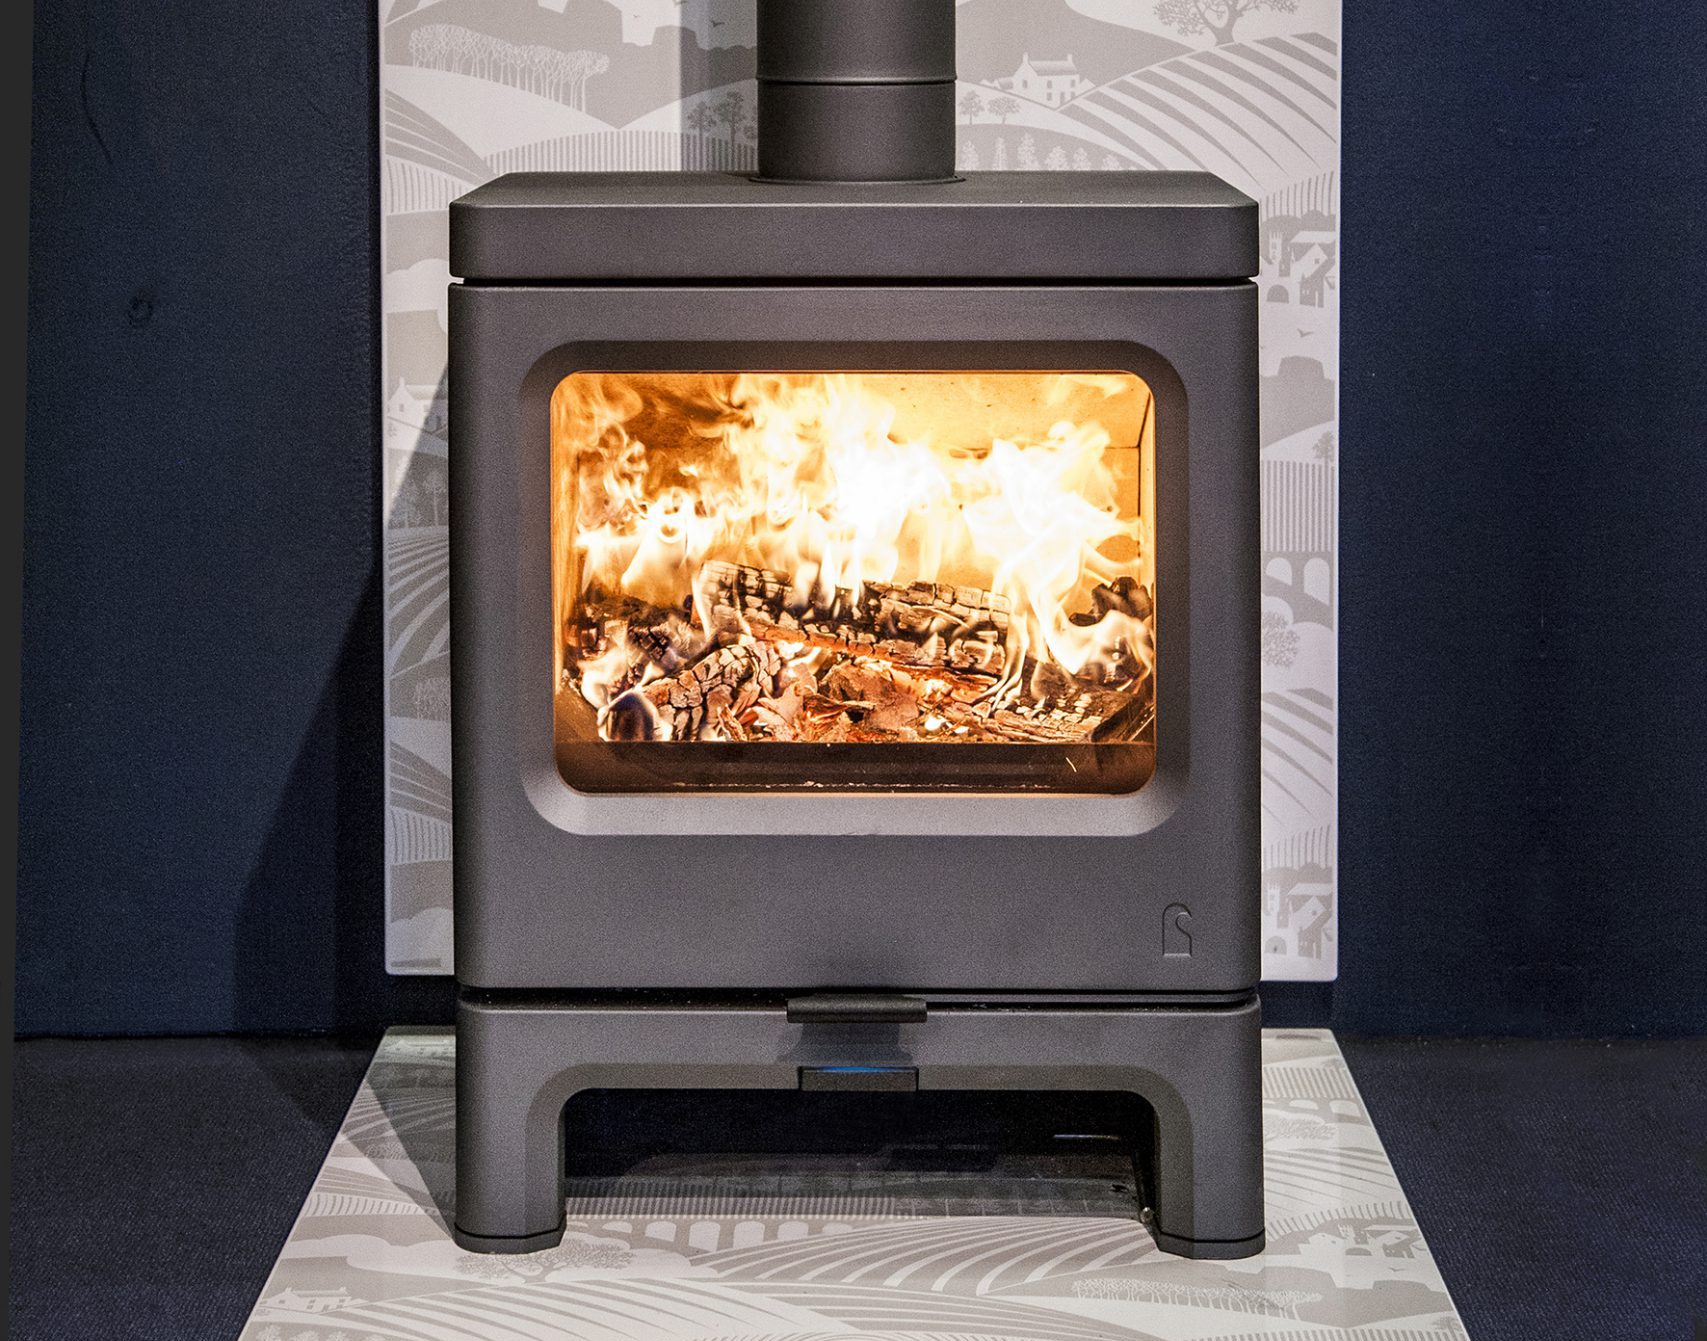
 

Why Choose Us?

Charnwood has been committed to providing quality wood burning stoves since 1972 and we know all there is to know about wood burners and their regulations. If you have any questions about heating your home with a wood burning stove, please get in touch.


charnwoodstoves

If you’re looking to transform your shed into a cosy retreat or a functional workspace, a wood burning stove can be the perfect addition. Not only does it provide efficient heating during cold months, but it also brings a rustic charm and warm ambience to your shed space.

However, before embarking on the journey of installing a log burner in your shed, there are crucial aspects to consider. From regulations and safety requirements to cost estimates and proper sizing, this comprehensive guide is designed to equip you with all the essential information you need to make informed decisions and ensure a successful installation.


Can I install a log burner in my shed?

In short, yes. A wood burning stove can be a fantastic addition to a shed, providing warmth and comfort while also giving the space a cosy atmosphere. However, they need to be installed properly and you may be better off in the long run hiring a professional to do it.

Firstly, size does matter – your shed needs to be big enough to accommodate not only the log burner but also the space required between the burner and any combustible materials, which may include the shed’s walls!

As part of scoping out your shed’s suitability for housing a wood burning stove, check the materials used to construct it. Wooden sheds are common, but some materials might not be suitable for log burner installations due to fire safety concerns. You may be required to fit non-combustible surfaces around and behind the log burner to make it safe. Take a look at our stove pod or Vlaze wall and floor panels : Both of these offer a very practical solution.

You also need to make sure that your shed has proper ventilation. Combustion requires oxygen, and without sufficient airflow, the wood burning stove may not burn efficiently or could even become a safety hazard due to the build-up of carbon monoxide.


How much does it cost to install a wood burning stove in a shed?

The cost of installing a wood burning stove in a shed can vary depending on several factors, including the type of log burner, shed size, materials, and labour costs.

The price of the stove itself ranges from a few hundred to £1,500 or more, depending on the features. You’ll also need a flue pipe and a chimney installation. The cost of these components typically ranges from £150 to £500. Installing a non-combustible hearth beneath the stove is essential and can cost around £100 to £300.

Hiring a professional installer is highly recommended to ensure safety and compliance. Labour costs might range from £500 to £1000 or more, depending on the complexity of the installation. While this is a sizeable outlay, it could save you money overall.


Regulations for installing a wood burning stove in a shed

In the UK, installing a wood burning stove in a shed is subject to a number of safety guidelines.

There must be a safe distance between the wood burning stove and any combustible materials like wood, plastic, or insulation. Typically, the required distance is 60cm from the sides and 80cm from the front of the stove. There isn’t a legal minimum requirement so these distances vary by model and manufacturer.

The chimney height should conform to specific requirements, usually at least 4.5 meters from the top of the stove to the flue exit point. The chimney should use an appropriate flue liner to ensure the safe passage of smoke and gases.

A carbon monoxide detector must be installed in the shed to alert occupants if there is a potential build-up of this harmful gas.

The installation should be carried out by a qualified and registered professional who is familiar with building regulations and safety standards.

Does dampness affect the appliance?

Yes, dampness can impact the efficiency and safety of the log burner. Moisture can affect the structural integrity of the stove and its components. Additionally, damp wood can lead to incomplete combustion, producing excess smoke, creosote, and harmful gases.

To prevent dampness from affecting the appliance:

• Use only well-seasoned firewood with a moisture content of around 20% or less – dry firewood burns more efficiently and produces less smoke.

• Store firewood off the ground and protect it from rain and snow by using a woodshed or covering.

• Ensure your shed has adequate ventilation to allow for proper air circulation. Good ventilation helps to prevent moisture buildup inside the shed.

• Invest in a moisture meter to regularly check the moisture content of your firewood.

• Clean your wood burning stove and flue regularly to remove any accumulated ash, debris or creosote.

• Install a chimney cap on top of the flue to protect it from rainwater and debris

• Regularly inspect the roof, chimney, and flue for any signs of leaks. Address any issues promptly to prevent water from entering the shed and affecting the wood burning stove.

• If possible, position the log burner away from potential sources of dampness, such as leaky windows or doors, or anywhere water might drip onto it.

• In cases where dampness is a persistent issue, consider using a dehumidifier inside the shed. A dehumidifier helps to reduce excess moisture in the air and creates a drier environment.


Best Wood burning Stove Sizes

The best size will depend on your shed’s dimensions and insulation levels. A stove that is too large may overheat the space, while one that is too small may not provide sufficient heat. To determine the best size, calculate the cubic meters of the shed by multiplying the length, width, and height, and take note of your shed walls’ thickness and composition. Then, consult a specialist; they’ll be able to recommend a stove size based on your shed’s measurements and insulation.


Sealing a Roof When Installing a Wood burning Stove

Properly sealing the roof where the flue penetrates is crucial to prevent leaks and maintain the shed’s weather resistance.  Install a flue pipe collar around the flue pipe where it exits the roof, then use a weatherproof sealant to fill any gaps or joints. This provides a watertight seal and prevents water from entering the shed.

Always consider hiring a professional roofer or installer to ensure the roof sealing is done correctly and complies with building regulations. Remember to check and comply with local regulations and obtain necessary permits before installing a wood burning stove in your shed. Safety should always be the top priority, and professional installation is highly recommended.


Why Choose Us?

We’ve been committed to providing quality wood burning stoves since 1972 and we know all there is to know about wood burners, wherever they’re installed. If you have any questions about heating your home with a wood burning stove, please get in touch.


charnwoodstoves

Similar to a wood burning stove in design and appearance, a multi-fuel stove enables you to  burn coal and mineral fuels in addition to wood, making it a versatile and functional heating solution for your home.

The main difference in the design of a multi-fuel stove is that it features a grate with a removable ash-pan enabling you to burn different fuels at their best efficiency.


How does a multi-fuel stove work?

Just like a wood burning stove a multi-fuel stove has a number of different components, including the firebox where the fuel is loaded and lit, a door that provides easy access for loading the fuel and lighting the fire, a glass window so that you can watch your fire burning, a flue to draw the emissions into the chimney and an air vent that provides an air supply, while controlling how quickly the fuel burns. Coal and mineral fuels burn most efficiently with under grate air whereas wood burns best on a bed of ash.

The Charnwood converting grate switches from a flat bed to an open grate with flick of a lever on the side. This can also be used as an effective riddling mechanism depositing ash and embers into the removable ashpan below. The riddling can be untaken with the doors closed ensuring mess is kept to a minimum. This grate is built into our Island, Cove, Skye, Arc, SLX and Country boiler ranges.

Charnwood also offer a reciprocating grate: a retro-fit grate that converts our C-Series and Country models (non-Blu) into multi-fuel appliances

Contemporary multi-fuel stoves are extremely energy efficient. With this in mind, it’s no surprise that this functional and aesthetically pleasing heating solution has increased in popularity in recent years.

How to light a multi-fuel stove

It’s easy to light a multi-fuel stove and, as long as you adopt the right technique, it is also extremely safe. We recommend the top down method – simply follow these steps:

Set the grate to the correct burning position. Open grate for mineral fuels or a flat bed for wood.

Place your chosen fuel on the stove bed.

On top of this build a stack of 6-8 kindling sticks

Then place a natural fire lighter inside

Fully open the air control for maximum air intake and a quick and easy ignition

Light the fire lighter and close the door but leave it slightly a jar

This helps to heat the chimney flue and burn hot and clean

Once the fire is burning well close the door and reduce the air intake

Re-fuel little and often

Every time a log or fuel is added open the air control again until the fire is burning well and then return the control to normal

By running your stove in this way you will achieve maximum efficiency with minimum emissions

Learn more on how to light a multi-fuel stove.

How long does a multi-fuel stove last?

If you maintain and burn your multi-fuel stove correctly you could enjoy it for many decades. Of course, you can expect to have to replace certain consumable parts during this time such as door seals, glass and fire bricks but at Charnwood we hold good stock of all components past and present that can be ordered from our online shop.

If you’re considering buying a multi-fuel stove, please get in touch.


Why Choose Us?

At Charnwood Stoves, we’re not just about providing stoves; we’re dedicated to delivering exceptional heating solutions tailored to your needs. With decades of experience, we’ve perfected the art of crafting high-quality, reliable multi-fuel stoves that stand the test of time. Our commitment to sustainability drives us to create products that are not only efficient but also environmentally conscious.

What sets us apart is our unwavering focus on innovation. Our team stay at the forefront of stove technology, ensuring our products are equipped with the latest advancements for optimal performance. From design to production, every Charnwood stove is a testament to our passion for warmth, efficiency, and style.

Get in touch with us today.


charnwoodstoves

Wood burning stoves have long been a staple in many homes, providing warmth and a cosy atmosphere during colder months. However, like any appliance, these stoves have a finite lifespan. Understanding when it’s time to replace your wood burning stove is essential for maintaining safety, efficiency, and comfort in your living space.

In this article, we delve into what to look out for when it’s time to bid farewell to your trusty old wood burning stove and welcome a newer, more efficient model into your home.


What is the Lifespan of a Wood Burning Stove?

On average, a well-maintained wood burning stove can last anywhere from 10 to 20 years and sometimes longer. The ingenuity behind Charnwood stoves lies in their modular design, allowing the majority of components to be replaced gradually as needed. However, it’s important to note that there might eventually come a time where the stove body itself reaches the end of its lifespan.

The primary determinant of a stove’s lifespan is the materials used in its construction. High-quality stoves crafted from durable materials such as cast iron or steel tend to have longer lifespans. Cast iron stoves are known for their robustness and ability to withstand high temperatures, while steel stoves are lighter and offer durability when properly cared for.

The longevity of a wood burning stove also depends on other factors, including its usage, maintenance and environmental factors, such as excessive moisture.

Also find out how a wood-burning stove can help reduce energy bills.


Are Newer Wood Burning Stoves More Efficient?

In recent years, advancements in stove technology have led to the development of more efficient and eco-friendly models. These newer stoves are designed to burn wood more efficiently, generating more heat with less fuel consumption and emitting fewer pollutants.

When considering the lifespan of your wood burning stove, it’s worth weighing the benefits of upgrading to a newer model that not only extends the longevity of the appliance but also offers enhanced performance and reduced environmental impact.

A new initiative from the EU, Ecodesign, has been brought in to improve the energy efficiency and environmental impact of all stoves, including wood burning stoves.


Signs That Your Wood Burning Stove Needs Replacing

Warping

One of the key indicators that it’s time to replace your wood burning stove is warping. Over time, intense heat exposure can cause the metal components of the stove to warp, affecting its structural integrity. Warping can lead to gaps in the seams, which may result in heat leakage, decreased efficiency, and even potential safety hazards.


Cracks and Splits

Cracks and splits are clear signals that your wood burning stove has reached the end of its useful life. Cracks, especially in the firebox or other critical areas, can allow smoke and fumes to escape into your living space, posing health risks. Regular maintenance and cleaning can help prevent cracks, but once it becomes widespread, replacement becomes the safer choice.


Broken Door

The door of a wood burning stove plays a critical role in ensuring the stove operates safely and efficiently. If you’re experiencing difficulty in closing or sealing the door properly, it could indicate a problem with the hinges, gaskets, or other components. A broken or ill-fitting door can lead to improper combustion, inefficient burning, and potential escape of harmful gases. You may be able to repair or replace the door, however, in some cases, it may be better to replace the stove altogether.

Increased Smoke Levels

An increase in smoke levels or the presence of smoke within your home when using the wood burning stove is a clear sign that something is amiss. It could be due to poor ventilation, a blocked chimney, or even an issue with the stove itself. Inefficient burning can lead to the production of more smoke, which not only decreases indoor air quality but also shows that the stove is not operating at its best.


More Fuel for Less Heat

As wood burning stoves age, their efficiency tends to decline. If you find that you’re using more fuel than usual to achieve the same level of heat output, it’s an indicator that your stove’s performance is diminishing. This situation not only puts a dent in your pocket due to increased wood consumption but also contributes to higher emissions. Investing in a newer, more efficient stove can result in substantial long-term savings on fuel costs.

Explore more about wood-burning stoves.


Why Choose Us?

As the stove approaches the end of its expected lifespan, it’s essential to pay close attention to signs of wear and deterioration. If efficiency drops, visible damage such as warping or cracks occur, or repairs become increasingly frequent and costly, it might be an indication that the stove has reached the end of its useful life.

Upgrading to a more modern model not only enhances the aesthetics of your living space but also contributes to reducing your carbon footprint. The increased efficiency of newer stoves means you’ll need less fuel to achieve the same or even better heat output, leading to significant long-term savings.

Charnwood has been committed to providing quality wood burning stoves since 1972 and we know all there is to know about getting the most out of wood burners and how to choose your next wood burning stove. If you have any questions about heating your home with a wood burning stove, please get in touch.

charnwoodstoves

Multi-fuel stoves offer the flexibility to burn a variety of fuels, including wood, smokeless fuels and briquettes, and are popular heating appliances thanks to their versatility and efficiency. To optimise their performance and ensure clean combustion, multi-fuel stoves use air vents that regulate the air supply.


What are Stove Air Vents?

Stove air vents, also known as air inlets or dampers, are openings built into the structure of a multi-fuel stove that allows controlled amounts of air into the combustion chamber. These vents facilitate the incineration process by regulating the oxygen supply, ensuring an efficient and controlled burn.

At Charnwood we have incorporated a single air control on all our multi-fuel stoves that simplify the burning process so you don’t need be concerned about adjusting numerous controls. Just pull out to burn harder or push in to slow the burn down.


How Do Stove Air Vents Work?

As you know, a fire needs three things to survive: fuel, heat and oxygen; this is often referred to as the “fire triangle”. Stove air vents control how much air (and subsequently, oxygen) gets to the fire. When starting a fire, you want as much oxygen as possible so the fire can light. Once the fire is self-sustaining, you want to reduce the amount of oxygen for a steady and more efficient burn.


Air Supplies in Stoves

The air supplies in stoves are categorised into three main types: primary, secondary, and tertiary air supplies. On a Charnwood stove all three vents are incorporated into an air box that is fitted to the base of the stove and controlled by one slider.


Primary Air Supply

The primary air supply is the main source of oxygen for initial combustion and it is typically regulated by a primary air vent at the stove’s base or front. Controlling the primary air supply allows users to ignite and establish a fire. Adjusting this vent allows users to increase or reduce the amount of oxygen available to the fire, influencing the burn rate and heat output.


Secondary Air Supply

Once the fire is established, secondary air becomes essential for complete combustion. The secondary air vents are strategically placed in the upper part or sides of the stove to introduce fresh, pre-heated air into the combustion chamber above the fuel bed. This additional oxygen helps burn off any unburned gases, reducing emissions and promoting a cleaner, more efficient burn.


Tertiary Air Supply

The tertiary air supply is an advanced feature found in all our multi-fuel stoves; it introduces a controlled amount of air into the flue gases. The tertiary air vents are once again incorporated into the airbox  and are designed to inject air into the path of the exhaust gases. This additional oxygen promotes the secondary combustion of any remaining gases, increasing efficiency and reducing particulate emissions.


How to Use Stove Air Vents

Step 1: Preparing your stove

Before starting a fire in your stove, it is essential to check that your air control is pulled out fully – this allows for a sufficient supply of oxygen to ignite and establish the fire.


Step 2: Starting your fire

Once you have added kindling and are ready to light the fire, ignite the kindling as you would normally. It is important to leave the control fully open during this stage. The unrestricted flow of oxygen will facilitate the ignition and rapid development of the fire. Allow the kindling to burn until it has taken hold and is burning steadily.


Step 3: Closing your vents

As the fire takes hold of the kindling and starts burning steadily, it is time to add some larger wood and start adjusting the control. Begin by gradually closing the primary air vent by pushing in the button. By reducing the primary air supply, you control the amount of oxygen reaching the fire, regulating the burn rate and heat output. Monitor the fire closely and make incremental adjustments to the control until you achieve a desired balance between heat production and fuel consumption.


Step 4: Adjusting your vents

As the fire spreads beyond the initial kindling and begins burning the wood, you can fine-tune the heat output by adjusting the single control further. Increasing the secondary air supply promotes combustion, reducing emissions and increasing efficiency. Adjust the control to find the optimal balance that provides sufficient oxygen for clean burning while maintaining the desired heat output.

Explore our types of firewood here.


Why Choose Us?

Charnwood has been committed to providing quality wood-burning stoves since 1972 and we know all there is to know about wood burners, and how to get the most out of the wood you burn. If you have any questions about heating your home with a wood-burning stove, please get in touch.


charnwoodstoves

Splitting firewood, the process of dividing large logs into smaller pieces, has become necessary to improve the wood’s quality and ensure an efficient burning experience. In this article, we will explore why we split firewood, how it affects the burning experience, and what factors affect the drying time of firewood.


Why Firewood is Split


Split Firewood is Easier to Light

When a fire is started, it needs three things to keep burning: fuel, oxygen, and heat. Split firewood provides a better balance of these three components, making it easier to ignite than whole logs.

Split firewood has a higher surface area to volume ratio, meaning that more of the wood’s surface is exposed to the air. This affects the wood in two ways: firstly, it is easier to dry the wood, and secondly, it is easier for the wood to ‘catch’.

Wood that is split is easier to dry than larger chunks of wood, and wood that has a high moisture content is challenging to ignite because it takes more heat to evaporate the water.

The increased surface area also means that more oxygen can reach the wood, which is crucial not only for initial combustion but also for keeping the fire burning.

When you light split firewood (and especially when lighting kindling to start the fire), the flames quickly engulf the wood due to the increased surface area and dryness, resulting in a steady heat output. The efficient combustion process that occurs with split firewood also produces less smoke and ash, which is beneficial for both indoor and outdoor fires.


Splitting Firewood Produces More Heat

The greater surface area of split wood (when compared to that same log before it was split) also results in greater heat, this is because more oxygen can reach more of the wood and support combustion. The heat generated from the combustion of the wood is then transferred to the surrounding air, which warms up more quickly.

Because split wood is easier to dry than unsplit wood, there is typically less moisture content in split wood. This means the heat generated from split logs can be used to warm the room rather than being used to evaporate the water in the logs, which can be the case with larger, unsplit logs. Burning wood with a high moisture content takes longer and produces less heat and more steam.


What Factors Affect Firewood Drying Time?

The species of wood, initial moisture content, season and climate, size and shape, airflow, and storage location all affect the drying time of firewood. Properly seasoned firewood should have a moisture content of less than 20% and be stored in a dry, well-ventilated area for at least 6-12 months before use.

The type of wood affects the drying time because some species of trees have a higher moisture content than others. For instance, hardwoods like oak, hickory and maple have a lower moisture content than softwoods like pine and spruce, which means they dry at a different rate.

The initial moisture content of the wood affects how long it will take to dry. Freshly cut or “green” wood has a higher moisture content than wood that has already been partially seasoned or dried. If buying partially-seasoned wood, you will need to dry it further yourself, but this won’t take as long as drying it from being freshly cut.

Weather conditions can also affect the drying time of firewood. If the wood is exposed to sunlight and wind, it will dry faster than wood stored in a damp or shady area. The storage method also plays a crucial role in the drying time. Firewood stored in a well-ventilated area with a cover to protect it from rain will dry faster than wood stored in a damp or enclosed area. When stacking firewood for drying, make sure there is a good level of airflow between the logs.


Burning Whole Logs – What You Should Know

While splitting firewood is recommended for a more efficient and enjoyable burning experience, it is still possible to burn whole logs. However, burning whole logs requires a longer burning time and produces less heat than split wood. It also produces more smoke and ash than split wood.

When burning whole logs, it is essential to make sure they are well-seasoned (dry) and to ensure that the fire has enough oxygen to support combustion, which can be achieved by adjusting the airflow on the wood-burning stove.

Whole logs have a smaller surface area, and as a result, less oxygen can reach the centre of the log. This lack of oxygen can cause the fire to smoulder, producing more smoke and ash, making it harder to maintain a steady heat output. Whole logs also take longer to ignite than split firewood, and they can be challenging to keep burning consistently due to the reduced airflow around the wood.

To find out everything you need to know about firewood, check here.


Why Choose Us?

Charnwood has been committed to providing quality wood burning stoves since 1972 and we know all there is to know about wood burners, and how to get the most out of the wood you burn. If you have any questions about heating your home with a wood burning stove, please get in touch.


charnwoodstoves

Quality firewood storage is a necessity for wood-burning stoves owners. Proper storage is key to ensuring that your firewood stays dry and ready to use, preventing moisture build-up, pest infestations, and mould growth.

In this article, we’ll provide you with tips and guidelines for storing firewood outdoors, including choosing the right location, stacking and covering the wood, and rotating the stack to ensure even drying.


Top Tips for Storing Your Firewood Well


Choose a dry, well-ventilated area

Firewood must be dry to burn efficiently. A shed, garage, or covered area with good ventilation is ideal.


Keep it off the ground

Storing firewood directly on the ground can cause it to absorb moisture and harder to ignite. To prevent this, stack the firewood on a raised platform or pallet.


Stack it properly

Stacking the firewood in a neat, organised pile can help it dry more quickly and evenly. Stack the logs in alternating directions to create air pockets between them as this will encourage airflow. Be mindful not to stack the wood too high as this can become unstable and difficult to manage. A stack that is 4 to 5 feet high is usually sufficient.


Cover it

Cover firewood with a tarp or other waterproof cover to protect it from rain and snow.


Make sure it’s dry

Newly cut firewood can contain up to 60% moisture, so it’s important to let it dry out before burning (moisture content needs to be less than 20% for efficient burning).

Depending on the type of wood and weather conditions, this can take anywhere from 6-18 months. Make sure to rotate logs in your stack regularly to ensure they dry out evenly.


Selecting the Right Storage Location


Seek Out a Location Close to Your Home

You want to choose a location that’s easily accessible from your home so you can easily bring in and take out firewood as needed. It also makes it easier to keep an eye on your stack.


Find a Location off the Soil

As mentioned above, you don’t want to put your firewood directly onto mud or grass as this will cause the wood to absorb moisture from the ground and rot.

You can stack your firewood on surfaces like concrete and gravel, or you can lay a tarp under the firewood. In both these cases, make sure that the wood won’t be sitting in water if it rains. Ideally, you want your firewood raised off of the ground, and you can use a wooden pallet or stacking apparatus designed for storing firewood.


Check if There is Room in an Outdoor Non-Wooden Storage Shed

If you have a shed or outbuilding in your garden, you can use this as a place to store your firewood as it is protected from rain and soil. It’s not advisable to use a wooden shed for this as firewood can attract ants – carpenter ants in particular are very damaging to wooden structures. If your shed becomes home to a colony of carpenter ants, over time the roof may become unsupported and you may need to replace the shed.

To also find out why you should split firewood, check our blog here.


Why Choose Us?

Charnwood has been committed to providing quality wood burning stoves since 1972 and we know all there is to know about wood burning stoves. If you have any questions, please get in touch.

charnwoodstoves

The importance of wall protection when installing a freestanding stove

As the cold season is fast approaching, many homeowners are rushing to prepare for the winter, and one effective way is to get your fireplace ready. As you will be aware, the fireplace serves to keep you and your family warm and comfortable during the winter months. Whether it’s a wood-burning or multi-fuel burner, it produces controlled heat that can warm your home’s space.

However, did you know that a vital part of the overall equation in your wood-burning stove is the heat shield? As the name suggests, it is typically installed behind a freestanding stove and it is designed to protect your wall from heat damage. However, while most wood stoves come with heat shields, some don’t have one.

In this article, we’ll specifically cover how to set clearances and install heat shields for wood stoves:

Have adequate clearances

When it comes to a wood stove, there are two key safety features you must keep in mind – sufficient clearance and wall material behind. A properly installed and maintained wood stove can ensure the safety of your appliance. Yet, inadequate clearances can be extremely dangerous for your home.

The Fire Protection Association recommends that the common radiant-type stove must be spaced out at least 900mm (36 inches) from a combustible wall although different wood burning stove manufacturers will offer their own tested safe distances. This is extremely important as your wood stove can get very hot when in operation. As a result, combustible materials too close to the stove can catch fire. By cheating on your wood stove’s clearances, you can potentially create a fire hazard.

Reduce wood stove clearances

On the other hand, know that you can reduce the clearance of your wood stove without compromising your home safety. Although you cannot completely eliminate the clearance, you can significantly reduce it. There’s only one solution to this, and that is to install a properly constructed heat shield.

For your reference, there are various types of heat shields you may want to consider for your wood stove. Be sure to follow the guidelines set forth by the HETAS for the heat shielding requirements, from the appliance selection down to its actual installation.

Vitreous Enamel heat shields

When it comes to wood stoves, installing a wall mounted heat shield is an excellent way to reduce clearance and promote home safety. A vitreous enamel heat shield is a great solution.

Vlaze Heat Shields are designed to protect and enhance the wall behind a wood burning stove creating a modern fireplace.

The vitreous enamel panel features a dual skin that provides thermal protection and an effective convection system that distributes heat back into the room. Using their rail mounted system the heat shield is quick and easy to install and is available in 3 sizes and over 30 luxurious glazed finishes. When installed on a wall the shield reduces the stoves distance to the face of the panel to 95mm and in the case of a Charnwood stove to just 75mm – a vast improvement on HETAS regulations.

Conclusion

At this point, you now know several valuable tips for your wood stove. As mentioned above, be sure to have adequate clearance or reduce wood stove clearances by installing heat shields. Furthermore, it’s best to deal with a reliable manufacturer when purchasing and installing a heat shield for your wood-burning stove. Doing so will help you make the most of your stove, protect your home, and keep you warm during the cold season!